The Meta Pixel for lead generation has one main job: tell Meta which ad clicks turned into real enquiries on your website. Meta then looks for more people like them. If the Pixel records the wrong thing, Meta learns from the wrong people, and your cost per lead suffers.
What the Meta Pixel does
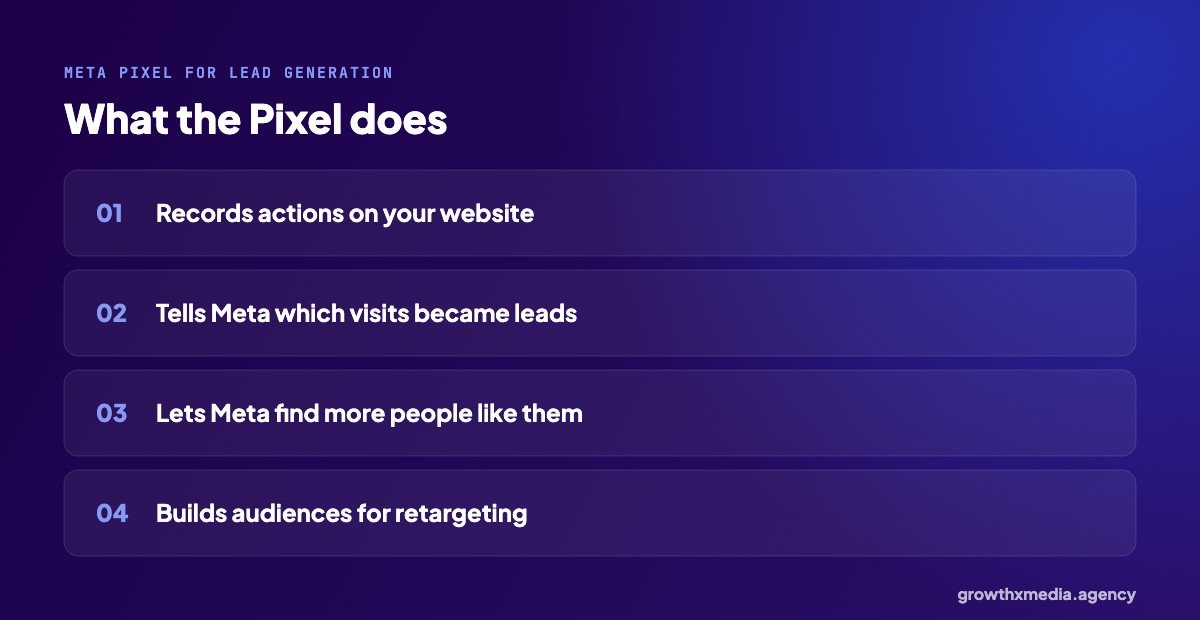
It is a small piece of code on your website. When someone visits, fills a form or clicks to call, it sends an event to Meta. Those events are used for optimisation, reporting and retargeting audiences.
Which events to track for lead generation
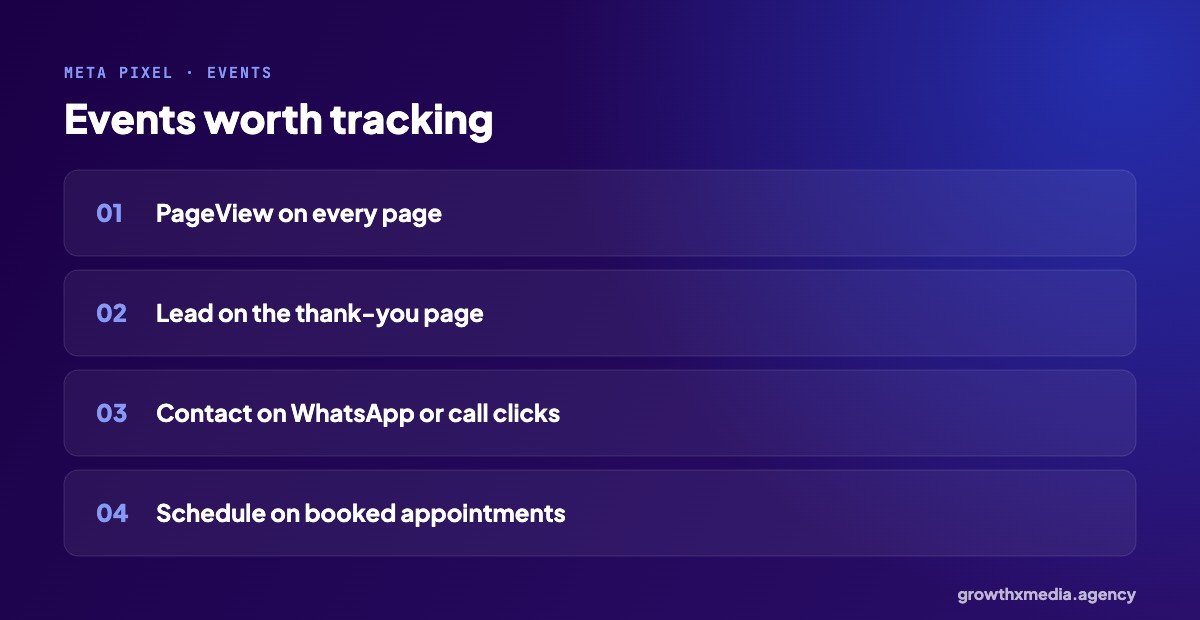
- PageView on every page.
- Lead when a form is actually submitted, usually on the thank-you page.
- Contact when someone taps WhatsApp or call buttons.
- Schedule if people book appointments on the site.
A 6-step checklist for the Meta Pixel for lead generation
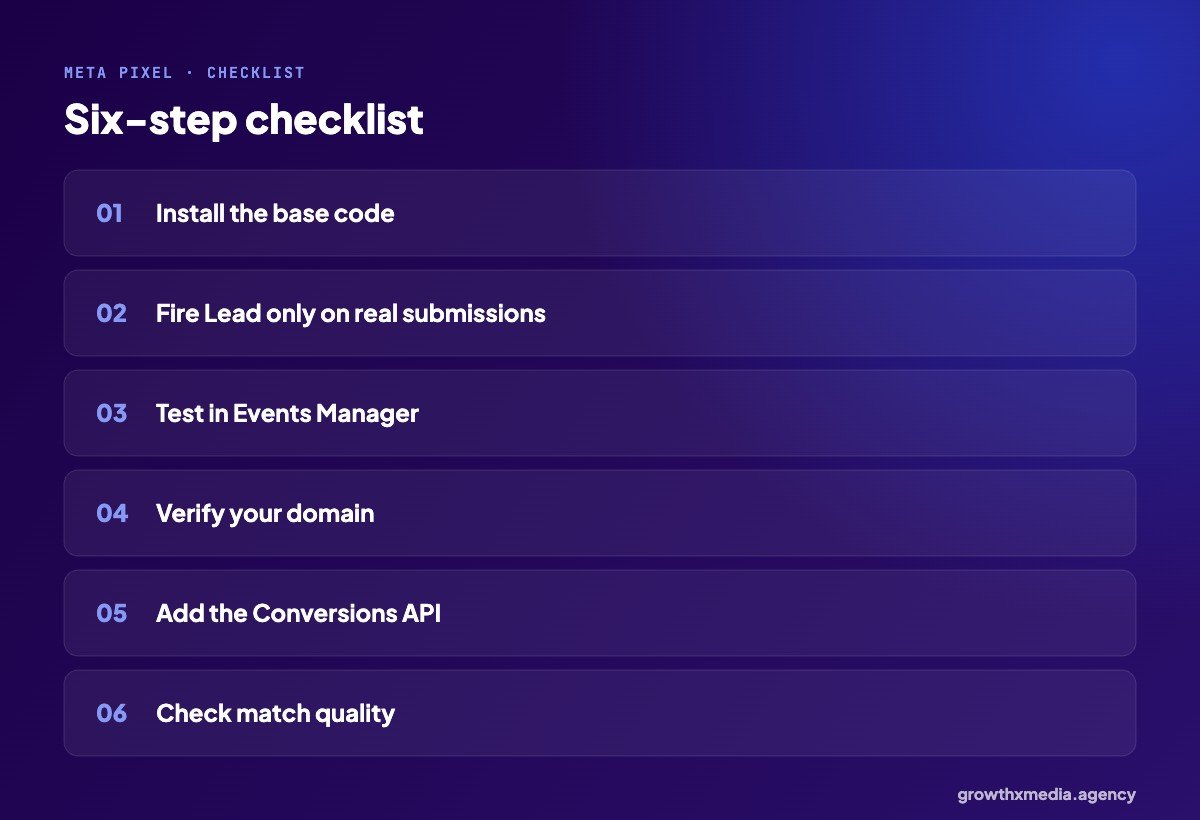
1. Install the base code
Through your website builder, a plugin or Google Tag Manager. One install only.
2. Fire the Lead event only on real submissions
The thank-you page after the form is the simplest place, as long as people can’t reach it without submitting.
3. Test in Events Manager
Submit a test lead yourself and check it appears once, with the right event name.
4. Verify your domain
Domain verification in Business Manager helps Meta trust your events.
5. Add the Conversions API
Browsers and ad blockers stop some Pixel events. The Conversions API sends them from the server as a backup. See our Conversions API guide.
6. Check event match quality
Events Manager shows how well your events match Meta users. Better matching means better optimisation.
Common mistakes with the Meta Pixel for lead generation
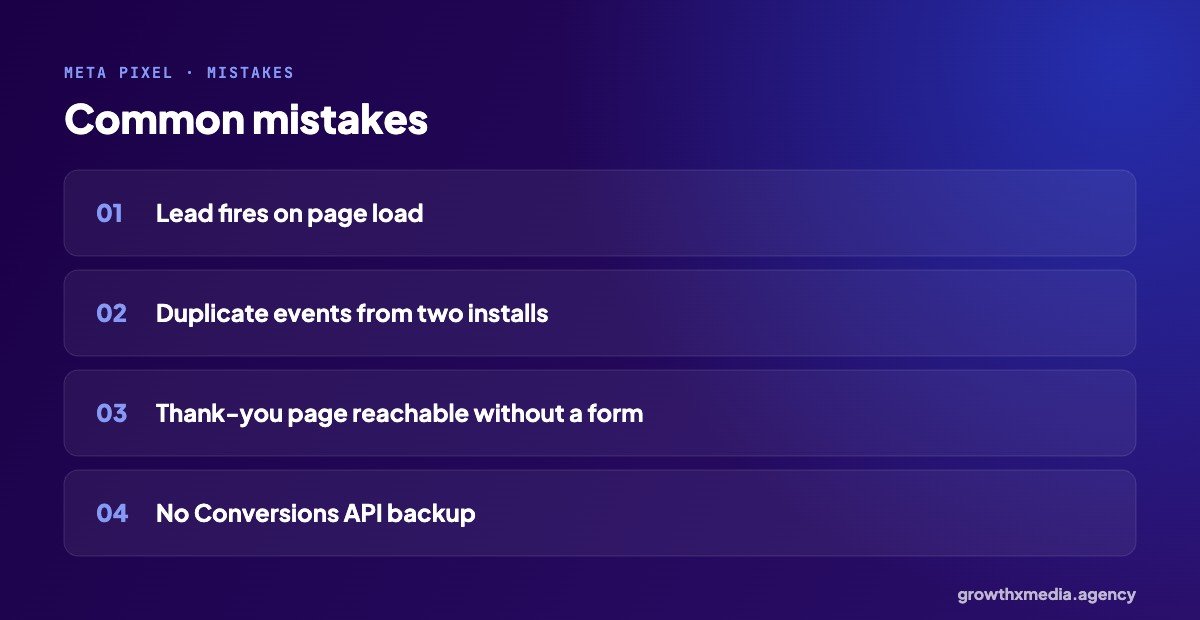
- The Lead event fires when the page loads, not when the form is sent.
- Two installs send every event twice.
- The thank-you page can be reached without filling the form.
- No Conversions API, so a share of leads never reaches Meta.
If your ads use instant forms instead of a website, leads are recorded inside Meta, and the Pixel matters less for optimisation. See lead form vs landing page for that choice.
How to test your Meta Pixel for lead generation
- Install the Meta Pixel Helper extension in Chrome.
- Open your landing page and check that one PageView fires.
- Fill in the form with test details and submit it.
- On the thank-you page, check that one Lead event fires, not two.
- In Events Manager, use “Test events” to see the same events arrive.
- Delete the test lead from your CRM so it doesn’t confuse sales.
Repeat this test whenever the website, form or plugins change. Many tracking problems start with a website update nobody connected to ads.
Pixel and instant forms
If your campaigns use Meta instant forms, leads are recorded inside Meta, so the Pixel is less important for those campaigns. It still matters for website visitors, retargeting audiences and any landing page campaigns. See lead form vs landing page.
Privacy basics
Mention the Pixel and cookies in your privacy policy, and only send the data you need. With the Conversions API, contact details are hashed before they are sent. Keeping this clean protects your business and keeps your ad account in good standing.
A correctly set up Meta Pixel for lead generation won’t fix a weak offer, but a broken one will waste even a great offer. Check it first, then work on creative.
Quick answers
Is the Facebook Pixel the same as the Meta Pixel?
Yes. Meta renamed it; it is the same tool.
Do I need a developer?
Not usually. Most website builders and WordPress plugins can add the Pixel and standard events.
Meta’s official setup steps are on its Meta Pixel page. Or let us check yours in a free ad account audit.
Want every benchmark in one place? Download our free cost per lead report with numbers from 13 industries.